Monday, 16 April 2018

Week4- The Tray


The Tray


Preparation work
Use the laser cutter to cut the circle template. Chose a circle radius and draw on the corners of wooden blocks. My friend and I choose the 50mm one.

Next, modify the timber by using the sander.


Also, we cut the metal sheet to 200*110mm.

 Cut the extra corners before started.


Step 1
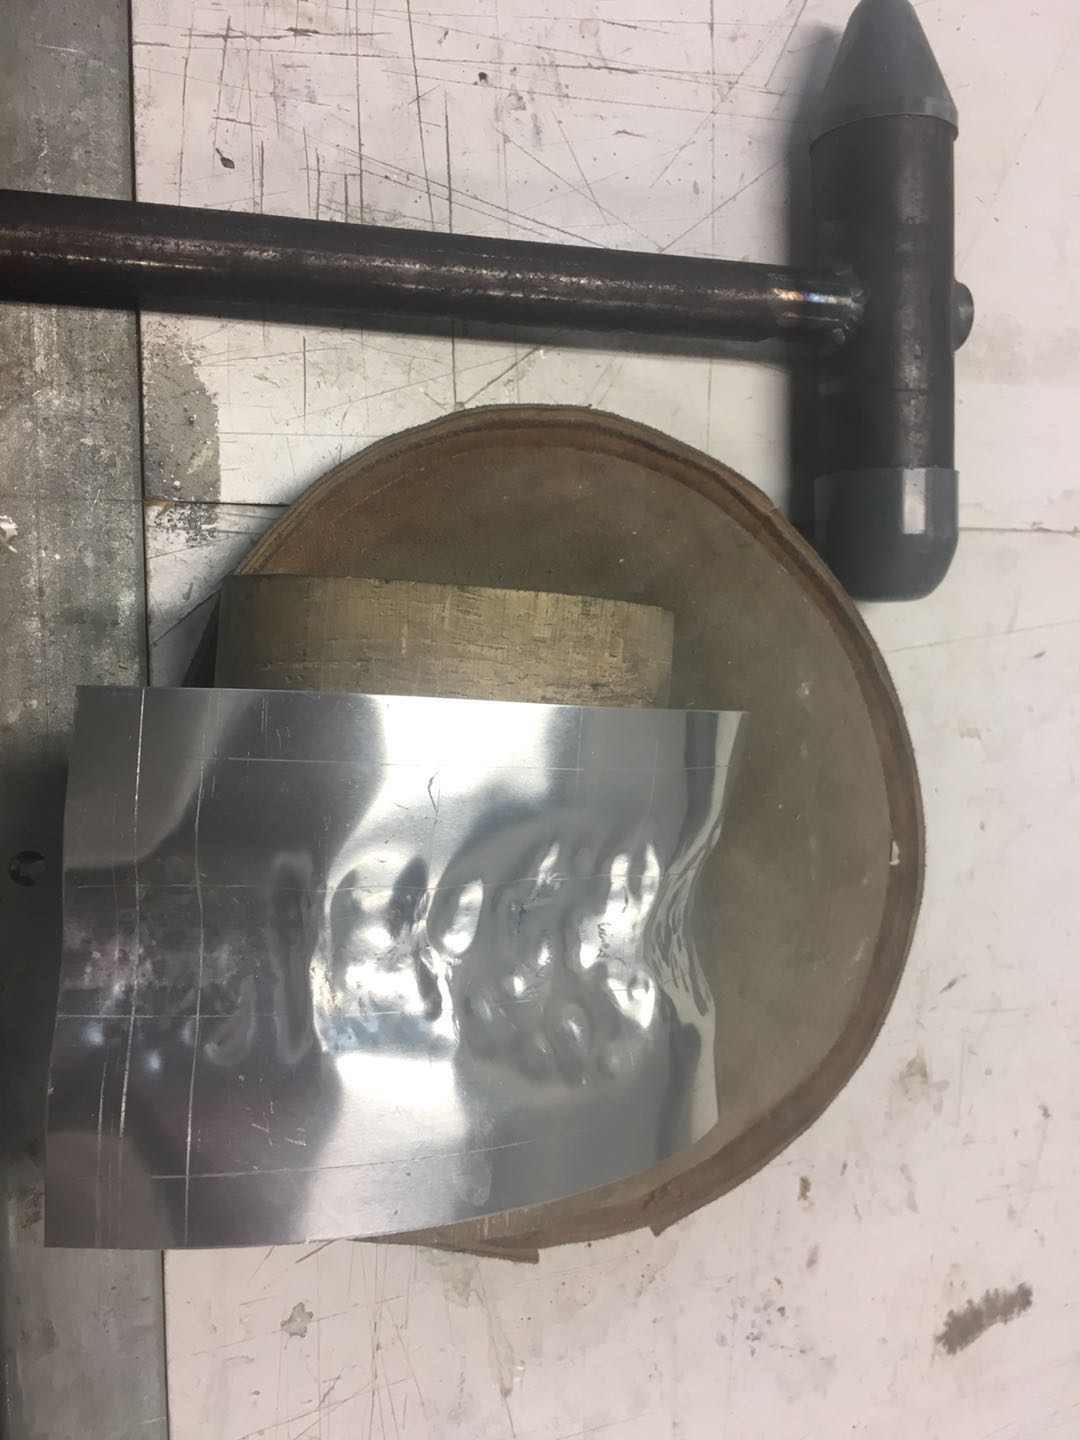
Put the aluminum sheet in between the timber jigs and clump it together.


Step 2
Gently hit the sheet. It should very careful in corners cause we don’t want to see any fold or overlap. Use the plastic hammer keep hitting the area, it a slow process.


You can see the tuck in this area, and it should get to shrink itself.

Step 3
Use a steel hammer flat face to sharpen the top edge.


Step 4
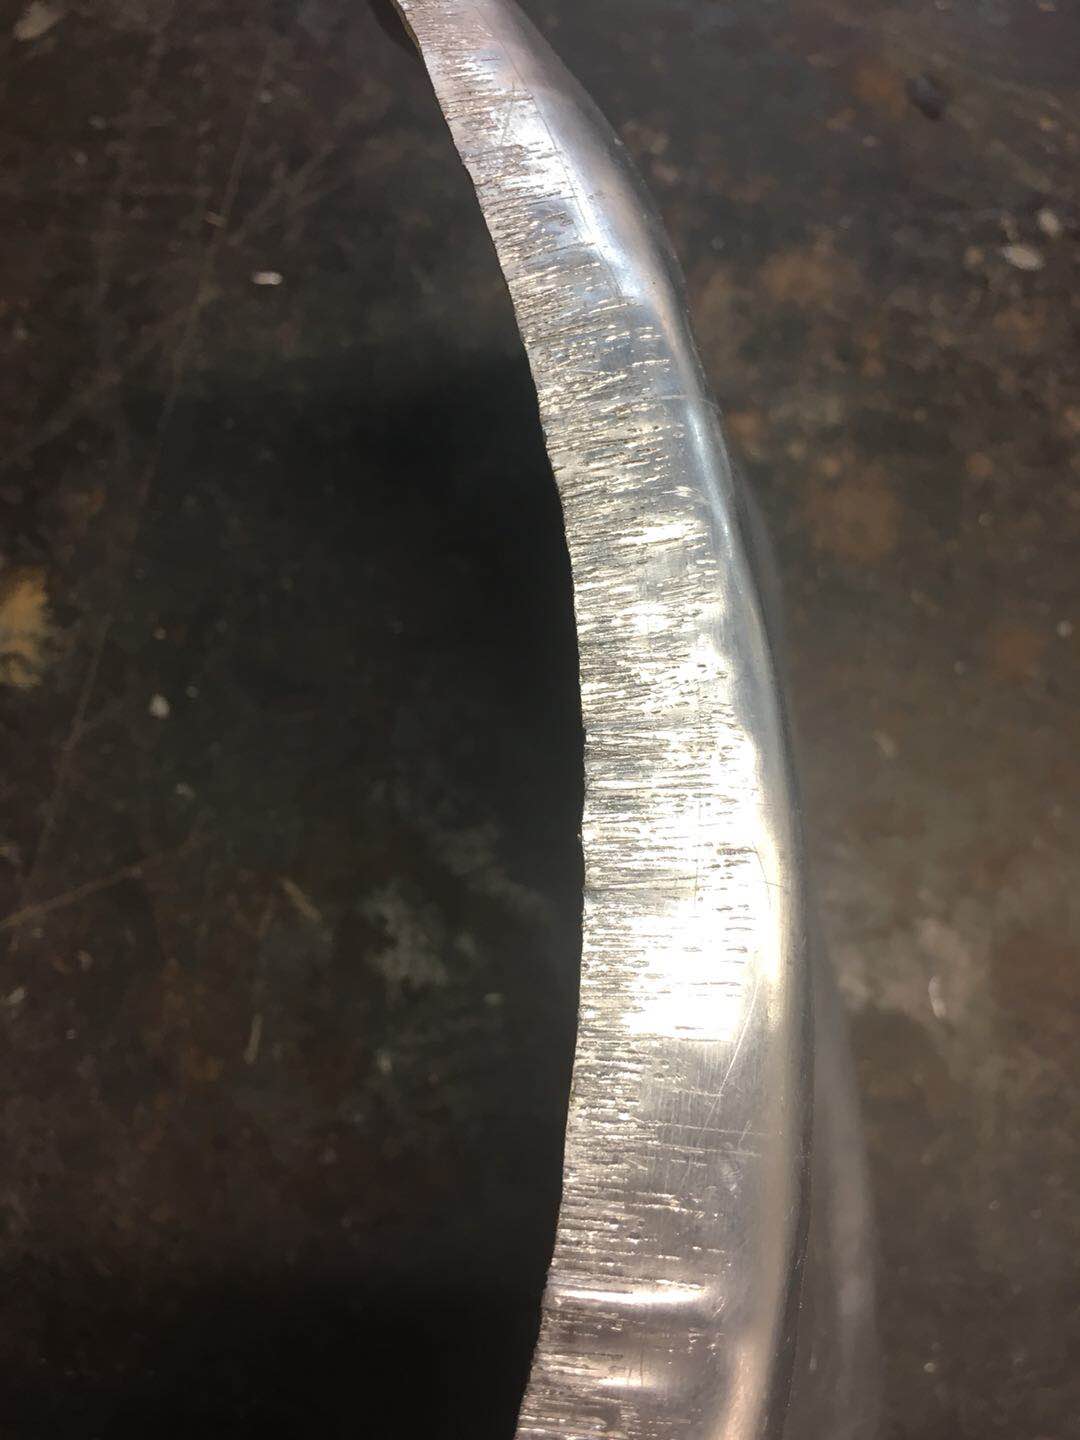
Cut the extra piece and sand it.

For some reasons, the tray is not easy making as it look like, that I have tried several times access to the lab.

(Unfortunately, there's a corner roll up itself of the first one)

A better refine one


Take photos with your friend


Sunday, 15 April 2018

Week 3 - Making a Reverse Curve

week3 - The Torus


I have tried two different ways to make this project.

Prepared work
Firstly draw the line to separate the different sections of the curvature.


Option 1. Shrinking the center strip first
Using the mallet to create a depression carved into the radius of a stump to shrink the center.

Tip is to find a responsible person will be very helpful to hold the aluminum sheet and get the initial curve. Otherwise, put a sandbag under the stump to stop it rolling.

Next step is placed the edges on the shrining dolly, used the hammer to stretch out the both edges to create reverse curves.

Option 2. Stretching the outside edges first
Using the stretch machine to crimp the two side of the aluminum sheet.

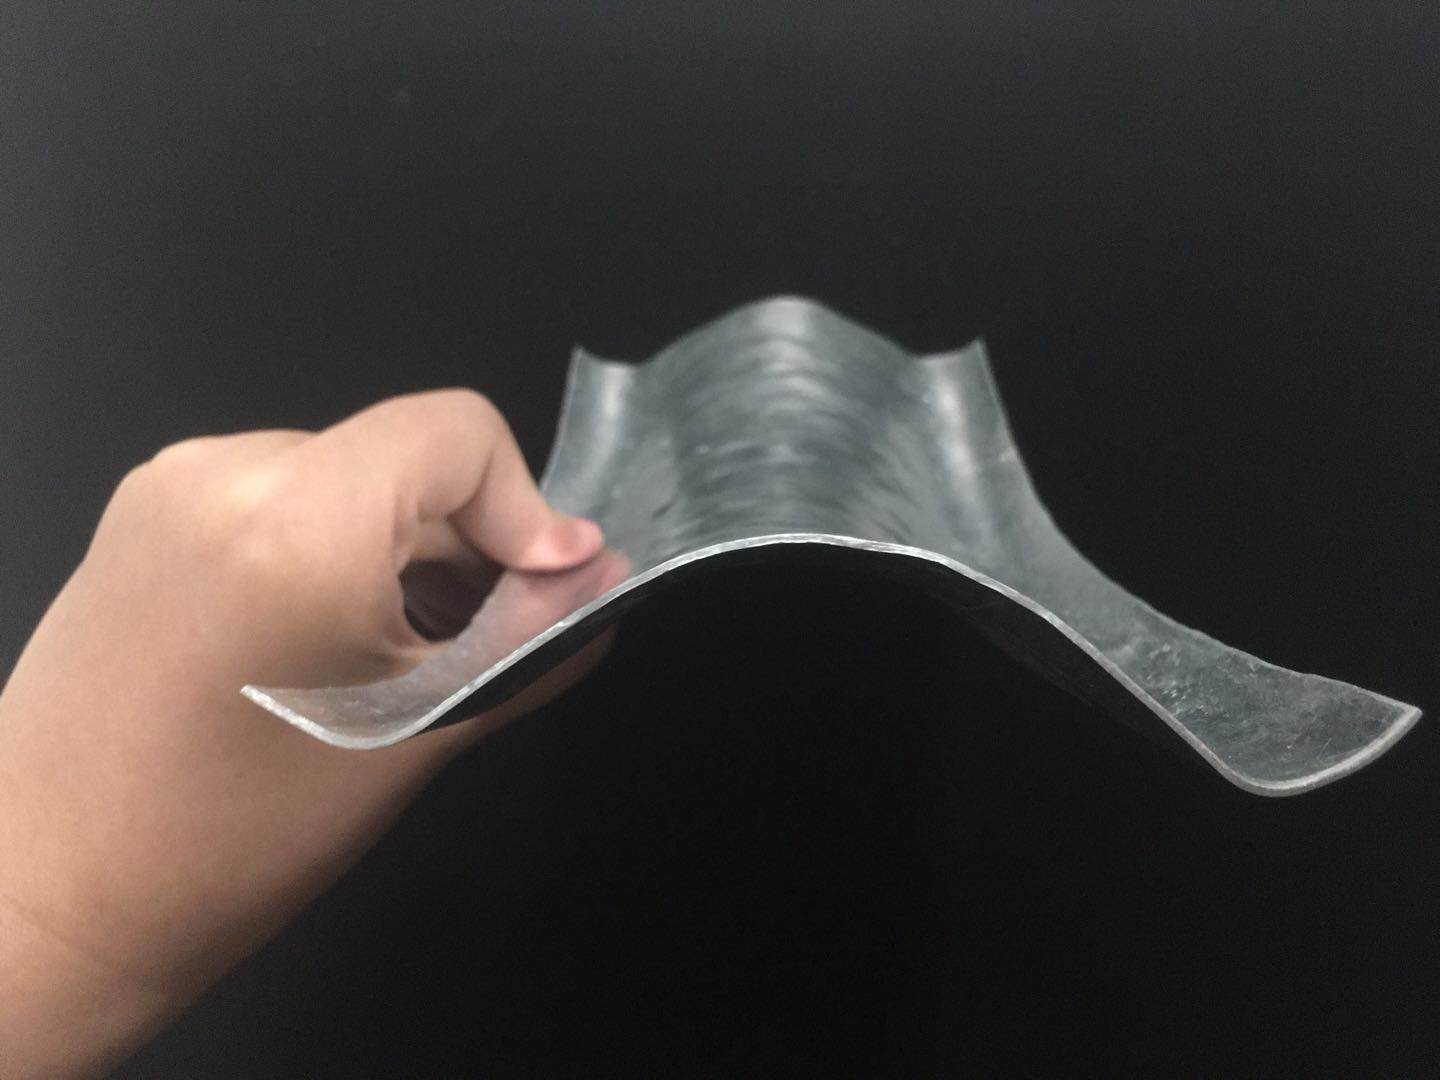
Then using the steel mallet to shrink the center curve. Used the English wheel and the dolly to fixed the surface when you are not satisfied.


Finished!!


Tuesday, 20 March 2018

Week2-Making a bowl


Week 2 – The bowl


In week two, we are going to make an aluminum bowl for the first project.

Prepared work

Firstly, by using the bowl template to draw a series of concentric rings on the aluminum sheet to create the guild line.


Then, used a tin snip to cut the aluminum plate follow the outer line that just created. Filing the edges to ensured no sharp spurs are on the metal.
Shrinking and Stretching
For the shrinking steps, I have used the plastic mallet to hit the referenced circle line of the sheet. I used the wooden stump first and then used the sandbag to balance the depression.

For the stretching, it based on squeezing the aluminum between two hard objects, like a hammer and dolly or the English wheel.
The bowl will look smoother after this step.

Planishing
For the final steps, it still used the English wheel, but remember to keep checking the radius of the shape as it develops. 

   
I also used water and sand paper to clean the bowl after it finished.